
t6 install manual
T6 Install Manual: A Comprehensive Guide
This comprehensive guide details the T6 Pro Programmable Thermostat installation, setup, and operation, offering instructions for both professionals and homeowners.
It covers everything from initial mounting and wiring to Wi-Fi connectivity and advanced smart home integration, ensuring a seamless experience.
Refer to the installation guide and quick setup videos for a successful T6 thermostat experience, available as a PDF download online.
The Honeywell T6 Pro is a smart, programmable thermostat designed to provide optimal home comfort and energy savings. This thermostat offers a user-friendly interface and advanced features, allowing for precise temperature control and customized scheduling.
It seamlessly integrates into modern homes, offering both on-device control and convenient remote access via the Honeywell Home mobile app. The T6 series, including models like TH6320WF2003, caters to various HVAC systems, ensuring compatibility and efficient operation.
Whether you’re a homeowner looking to upgrade your existing thermostat or a professional installer, the T6 provides a reliable and sophisticated solution for managing your home’s climate. This manual will guide you through the installation process and unlock the full potential of your new thermostat.
Safety Precautions and Warnings
Prior to installation, always disconnect power to your HVAC system at the breaker box to prevent electrical shock. This is a crucial safety step. Installation should be performed by a competent person familiar with HVAC systems and electrical wiring.
Read these instructions carefully before beginning, as failure to follow them could result in damage to the thermostat, your HVAC system, or personal injury. Do not attempt to repair the thermostat yourself; contact a qualified technician for service.
Do not burn the product. Ensure all wiring connections are secure and comply with local electrical codes. Keep the thermostat dry and avoid exposing it to extreme temperatures or humidity. Improper installation voids the warranty.
Tools and Materials Required for Installation
For a successful installation of your Honeywell T6 thermostat, gather the following tools and materials. You will need a screwdriver (Phillips and flathead), wire strippers, and potentially a small level to ensure proper mounting.
Wall anchors may be necessary if existing holes are insufficient. A voltage tester is highly recommended to verify power is off before handling wires. Pencils for marking screw locations and a drill with appropriate bits are also useful.
Ensure you have the T6 thermostat kit, including the base plate, display unit, mounting screws, and wire labels. Review the installation instructions to confirm compatibility with your existing HVAC system before starting.
Installation Process
The installation involves removing your old thermostat, mounting the T6 base plate, carefully wiring the connections, and finally, attaching the thermostat display unit.
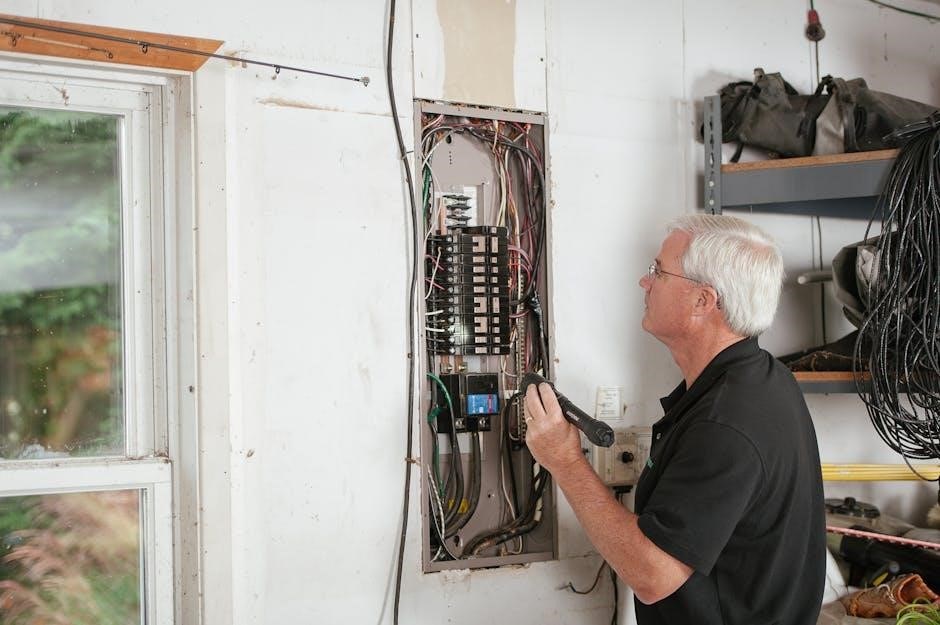
Step 1: Removing the Old Thermostat
Before beginning, power off your HVAC system at the breaker to avoid electrical shock. Carefully remove the cover of your existing thermostat, often by gently prying or unsnapping it from the base plate. Take a clear photograph of the existing wiring connections – this is crucial for accurate re-wiring later.
Label each wire with the corresponding terminal designation (R, C, W, Y, G, etc.) using the provided wire labels. Disconnect the wires one at a time, ensuring they don’t fall back into the wall. Remove the old base plate from the wall, noting the mounting screw locations.
If wall anchors are missing or damaged, prepare for installing new ones for secure mounting of the T6 base plate. Dispose of the old thermostat responsibly.
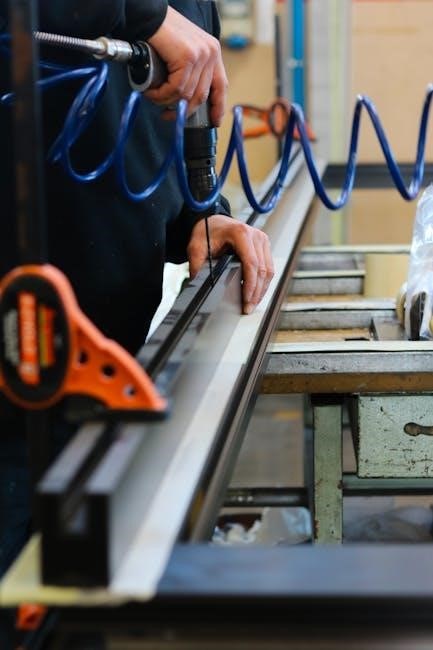
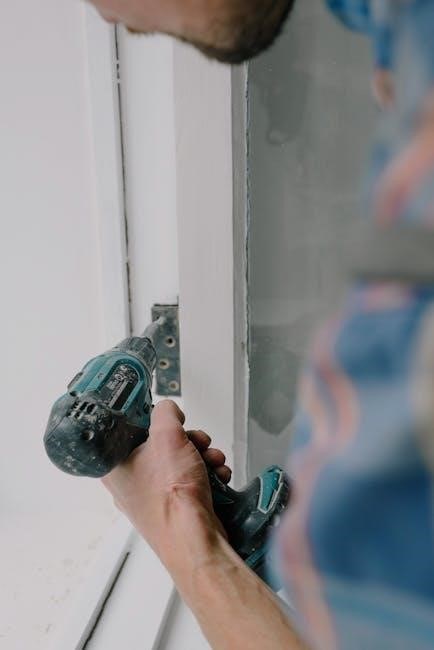
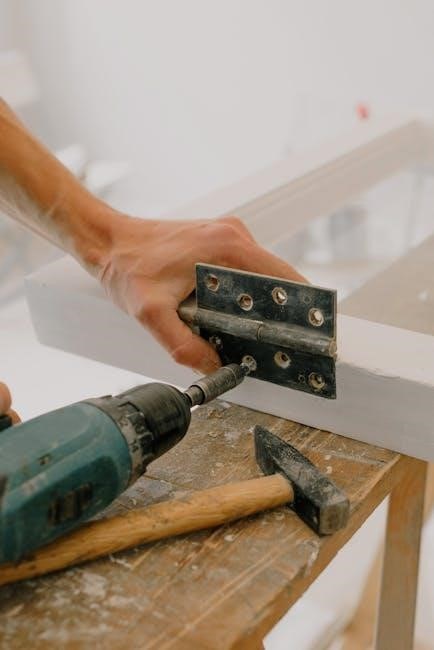
Step 2: Mounting the T6 Thermostat Base Plate
Using the T6 base plate as a template, mark the screw locations on the wall, aligning with the previous thermostat’s mounting holes if possible. If new holes are needed, drill pilot holes and insert appropriate wall anchors for a secure fit.
Ensure the base plate is level before securing it to the wall with the provided screws. For UWP mounting, follow specific instructions for that system, utilizing the same installation process for the cover plate. Carefully feed the thermostat wires through the opening in the base plate.
Confirm the wires are neatly arranged and not pinched. Double-check the base plate is firmly attached and level before proceeding to the wiring stage. A stable base is essential for proper thermostat function.

Step 3: Wiring the T6 Thermostat
Before connecting wires, ensure power is OFF at the breaker. Carefully match each wire to the corresponding terminal on the T6 base plate. Common terminals include R (power), C (common), W (heating), Y (cooling), and G (fan).
Refer to wiring diagrams for your specific HVAC system to ensure correct connections; Incorrect wiring can damage the thermostat or HVAC equipment. Securely insert each wire into its designated terminal.
Gently tug on each wire to confirm it’s firmly held in place. If using an optional cover plate, ensure wires are routed to avoid interference. Double-check all connections against the wiring diagram before restoring power.
Understanding Terminal Designations (R, C, W, Y, G)
The T6 thermostat utilizes standard HVAC terminal designations for compatibility. ‘R’ signifies 24VAC power, providing energy to the thermostat. ‘C’ is the common wire, completing the circuit and essential for consistent power.
‘W’ controls heating, activating the furnace or heat pump. ‘Y’ manages cooling, engaging the air conditioner. ‘G’ operates the fan, circulating air independently or with heating/cooling.
Proper identification of these terminals is crucial for correct wiring. Some systems may have additional terminals; consult your HVAC system’s documentation. Incorrect connections can lead to malfunction or damage. Always verify wire designations before proceeding with installation.
Wiring Diagrams for Common HVAC Systems
The T6 thermostat accommodates various HVAC configurations. For conventional systems (furnace & AC), connect R, C, W, Y, and G accordingly. Heat pump systems require specific wiring; consult the diagram for your setup, often involving an O/B wire for reversing valve control.
Systems without a C-wire may necessitate a C-wire adapter (sold separately) for reliable operation. Multi-stage heating/cooling systems utilize additional wires for enhanced control. Refer to the detailed wiring diagrams included in the installation guide.
Always double-check connections against your existing thermostat’s wiring and your HVAC system’s documentation. Incorrect wiring can damage the thermostat or HVAC equipment. Professional installation is recommended if you are unsure.

Step 4: Attaching the T6 Thermostat Display
Once the base plate is securely mounted and wired correctly, carefully align the T6 thermostat display with the base. Gently press the display onto the base plate until it clicks into place, ensuring a snug and secure fit. Avoid forcing the display, as this could damage the connectors.
Verify that the display is firmly attached and level. The display should power on automatically upon attachment, initiating the initial setup sequence. If the display does not power on, double-check the wiring connections and ensure the power is on at the breaker.
Optional cover plate installation can be performed at this stage, providing a cleaner aesthetic. Refer to the cover plate instructions for proper installation.

Configuration and Setup
Initial power-up initiates basic settings, followed by Wi-Fi connection for remote access. Programming schedules and temperature preferences complete the T6 thermostat setup process.
Initial Power-Up and Basic Settings
Upon initial power-up, the Honeywell T6 thermostat will guide you through a series of essential basic settings. The display will prompt you to confirm the date and time, ensuring accurate scheduling and operation.
You’ll then be asked to select your preferred temperature units – Fahrenheit or Celsius – a crucial step for comfortable and precise climate control. The thermostat may also inquire about your HVAC system type, optimizing performance based on your specific setup.
Carefully follow the on-screen prompts to accurately configure these initial settings. These foundational choices will impact the thermostat’s functionality and your overall experience. Incorrect settings can be adjusted later within the thermostat’s menu, but accurate initial configuration streamlines the process.
This initial setup is vital for the T6 to function correctly and efficiently.
Connecting to Wi-Fi
Connecting your Honeywell T6 thermostat to Wi-Fi unlocks remote control and smart home integration features. From the thermostat’s menu, navigate to the network settings and select “Connect to Wi-Fi.” The thermostat will scan for available networks in your area.
Choose your home network from the list and enter your Wi-Fi password using the on-screen keyboard. Ensure you enter the password correctly, as incorrect credentials will prevent connection. Once connected, the thermostat will display a confirmation message and a Wi-Fi signal icon.
A stable Wi-Fi connection is crucial for utilizing the Honeywell Home app for remote access and scheduling. If connection fails, verify your router is functioning and the password is correct. Refer to the online resources for detailed troubleshooting steps.
Programming Schedules and Temperature Settings
The T6 thermostat allows for customized heating and cooling schedules to optimize comfort and energy savings. Access the scheduling menu through the thermostat’s interface to create personalized programs for weekdays and weekends.
You can define different temperature settings for various time periods throughout the day – wake, leave, return, and sleep – tailoring the climate to your lifestyle. Adjust temperatures directly on the thermostat or remotely via the Honeywell Home app.
Experiment with different schedules to find the optimal balance between comfort and efficiency. Utilize the “Hold” function for temporary overrides, and explore features like Smart Response to learn your heating and cooling preferences.

Advanced Features
The T6 thermostat boasts remote access via a mobile app, smart home system integration, and an optional cover plate for enhanced aesthetics and functionality.
Remote Access and Mobile App Control
The Honeywell Home app unlocks the full potential of your T6 thermostat, providing convenient remote access and control from anywhere with an internet connection.
Through the app, you can adjust temperature settings, view current conditions, and manage schedules, ensuring optimal comfort and energy savings whether you’re at home or away.
Mobile app control allows for personalized scheduling, creating custom comfort profiles tailored to your lifestyle. Receive alerts for extreme temperatures or system malfunctions, proactively addressing potential issues.
The intuitive interface simplifies operation, making it easy to monitor and manage your home’s climate. Enjoy the freedom and peace of mind that comes with complete control at your fingertips, enhancing your overall smart home experience.
Download the Honeywell Home app for iOS and Android devices to begin.
Integration with Smart Home Systems
The Honeywell T6 thermostat seamlessly integrates with popular smart home ecosystems, enhancing your connected living experience. Compatibility extends to platforms like Amazon Alexa and Google Assistant, enabling voice control of your home’s temperature.
Utilize simple voice commands to adjust settings, check current temperatures, or activate pre-set schedules, offering hands-free convenience. Beyond voice control, the T6 can participate in automated routines and scenes.
For example, create a “Goodnight” routine that lowers the thermostat and turns off lights simultaneously. This integration streamlines home automation, optimizing comfort and energy efficiency.
Explore the possibilities of a truly connected home, where your thermostat works harmoniously with other smart devices, responding to your needs and preferences automatically.
Check the Honeywell Home website for the latest compatibility updates.
Optional Cover Plate Installation
The Honeywell T6 thermostat offers an optional cover plate for aesthetic enhancement and to conceal any imperfections from previous thermostat installations. This cover plate provides a clean, finished look, blending seamlessly with your wall’s décor.
Installation is straightforward, requiring similar mounting techniques as the thermostat base plate itself. If no existing wall anchors are present, utilize appropriate anchors for secure attachment.
Follow the provided instructions carefully, ensuring the cover plate is aligned correctly before tightening screws.
The cover plate is particularly useful when upgrading from a thermostat with a larger footprint, effectively hiding any remaining wall markings.
This simple addition elevates the overall appearance of your T6 thermostat, contributing to a polished and professional installation.
Troubleshooting Common Issues
This section addresses frequent problems like power failures, connectivity disruptions, and inaccurate temperature readings, offering solutions for a smoothly functioning T6 thermostat.
Thermostat Not Powering On
If your T6 thermostat fails to power on, begin by verifying the power supply at the circuit breaker, ensuring it hasn’t tripped. Next, carefully inspect the wiring connections at both the thermostat base plate and the HVAC system, confirming secure and correct terminal assignments.
A missing or improperly installed ‘C’ wire (common wire) is a frequent cause; this wire provides continuous power. If a ‘C’ wire isn’t present, consider using a ‘C’ wire adapter, following the adapter’s specific installation instructions.
Double-check the thermostat’s battery (if applicable) and replace it if necessary. Finally, ensure the thermostat display is firmly and correctly attached to the base plate, as a loose connection can interrupt power. If issues persist, consult a qualified HVAC technician.
Connectivity Problems
Experiencing connectivity issues with your T6 thermostat? First, confirm your home Wi-Fi network is functioning correctly and that the thermostat is within range of the router. Verify you’ve entered the correct Wi-Fi password during setup – case sensitivity matters!
Restart both your router and the thermostat; this often resolves temporary glitches. Ensure your router’s firmware is up-to-date. Within the Honeywell Home app, attempt to reconnect the thermostat, following the on-screen prompts.
Check for potential interference from other wireless devices. If problems continue, try temporarily disabling the router’s firewall or security settings (re-enable afterward). For persistent issues, consult the Honeywell Home support website or contact their customer service for assistance;
Incorrect Temperature Readings
If your T6 thermostat displays inaccurate temperatures, several factors could be at play. Ensure the thermostat isn’t directly exposed to sunlight, drafts, or heat-generating appliances, as these can skew readings. Verify the thermostat is level on the wall; an uneven mount can affect accuracy.
Check the thermostat’s location settings within the Honeywell Home app to confirm the correct zip code is entered for accurate outdoor temperature data. Calibrate the temperature within the thermostat’s settings menu if a consistent offset exists.
Consider potential issues with the thermostat’s internal sensor. If calibration doesn’t resolve the problem, contact Honeywell Home support for further troubleshooting or possible replacement.